
DTF printing in 2026: plan the complete workflow
Look beyond print speed. Compare artwork preparation, white ink, powder curing, heat pressing and operator time before choosing a DTF setup.
A useful DTF printing workflow starts with the order you need to deliver. Think about the garment, artwork size, finishing steps and the people doing the work before comparing printer speeds. This guide helps you follow the job from an approved file to a finished garment.
For a step-by-step DTF printing process, include the finishing steps after curing—not just the printer output. If film cutting, order counting or packing is slowing dispatch, read our DTF film cutting and sorting workflow guide. For a new printer-and-dryer line, review the separate 24-inch DTF installation and site-readiness checklist.
Why workflow is a timely buying question
Epson’s September 2026 PRINTING United announcement highlighted dedicated DTFilm equipment and automated maintenance alongside hybrid garment-printing systems. That is useful industry context, not proof that automation removes every manual task. Read Epson’s 2026 exhibition announcement. The Epson machines mentioned there are not a statement of ProlificGeeks stock or local availability.
Our practical takeaway: assess the complete production route rather than using the printer specification alone as your daily output forecast. Your bottleneck might be artwork approval, transfer trimming or the heat press.
Map the job from artwork to packed garment
- Approve the artwork. Check print dimensions, spelling and the customer’s placement requirements before preparing the file in the RIP.
- Prepare and print the transfer. Confirm the profile, white-layer settings, usable film width and nozzle-check routine for the selected machine and consumables.
- Apply and cure the powder. Follow the powder, film and equipment instructions. Do not copy a temperature from an unrelated machine demonstration.
- Transfer to the garment. Use tested time, temperature, pressure and peel instructions for that material combination.
- Inspect and record. Check registration, edges and appearance, then record the settings that produced the approved sample.
Compare usable capacity, not just nominal width
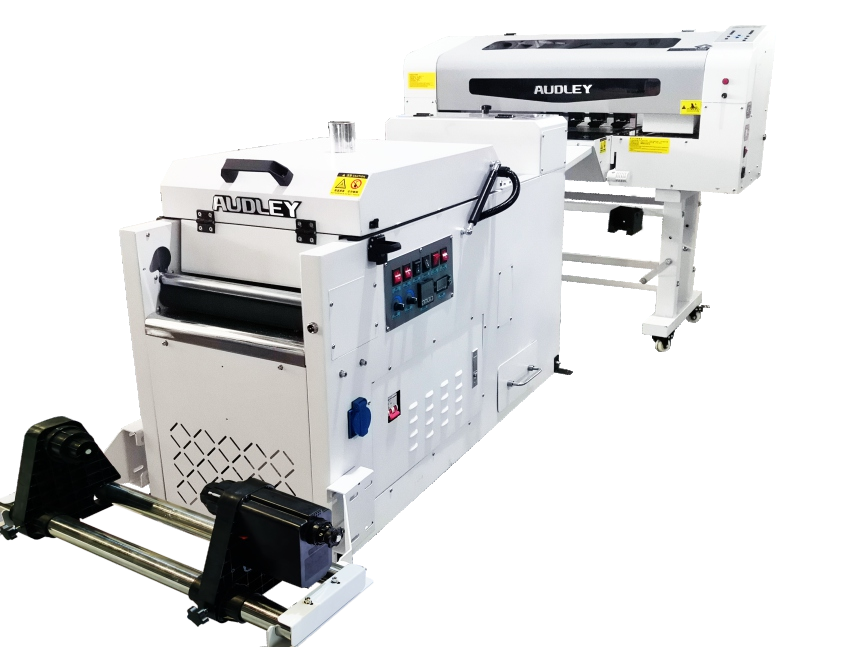
Take a representative job file to the demonstration. Ask the operator to show its layout, film consumption and elapsed time through printing and finishing. A wide roll does not automatically reduce cost if the artwork cannot be arranged efficiently or orders are too small to fill it.
Separate rated machine speed from observed, acceptable output. Note the print mode and pass count used during the demonstration, the time spent on maintenance and how often an operator needs to intervene. Ask what is included with the printer and what is supplied separately, especially curing equipment, software and extraction arrangements.
Prepare a sample test brief
- Bring the actual garment composition, colour and artwork, not only a photograph.
- Request both fine-detail artwork and a solid area so you can compare the results.
- Agree on your inspection and wash-test criteria before approving a production workflow.
- Keep a record of ink, film and powder identification so a later change can be traced.
- Confirm the cleaning routine, shutdown procedure, electrical requirements and room layout against the exact equipment documentation.
Build a shortlist you can verify
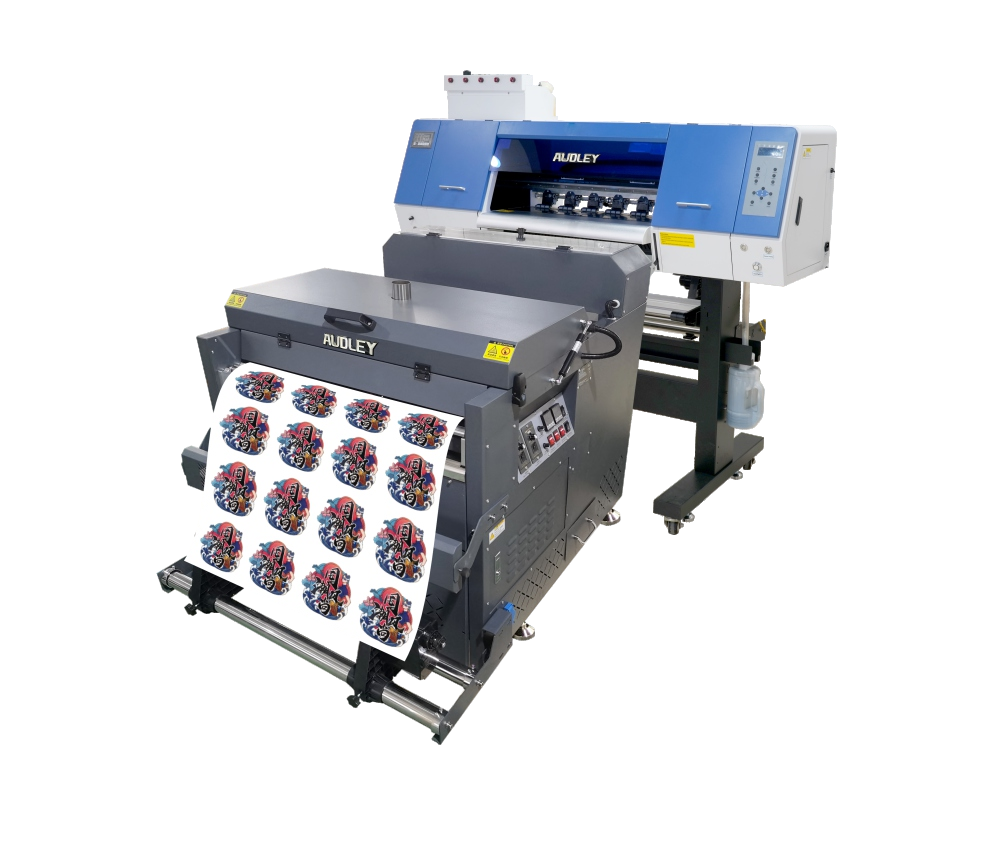
Use the DTF machine catalogue to compare recorded configurations. Read the individual product brochure, then ask for a demonstration matching your work. Browse DTF films, inks, powders and spare parts only after checking the exact model and ink system; a matching category is not a compatibility guarantee.
For a useful quotation, send the team your target transfer size, garment mix, expected order pattern and available floor space. Request a written list of the printer, finishing equipment, consumables and installation requirements. That makes the comparison more meaningful than choosing whichever specification sheet shows the largest number.
Plan your next sample review
Bring this article back to your own order brief. Keep the actual material, artwork size, sample observations and the quoted configuration together, then ask the team to clarify anything the trial has not established.
Discuss your sample requirements or prepare your buying checklist.